
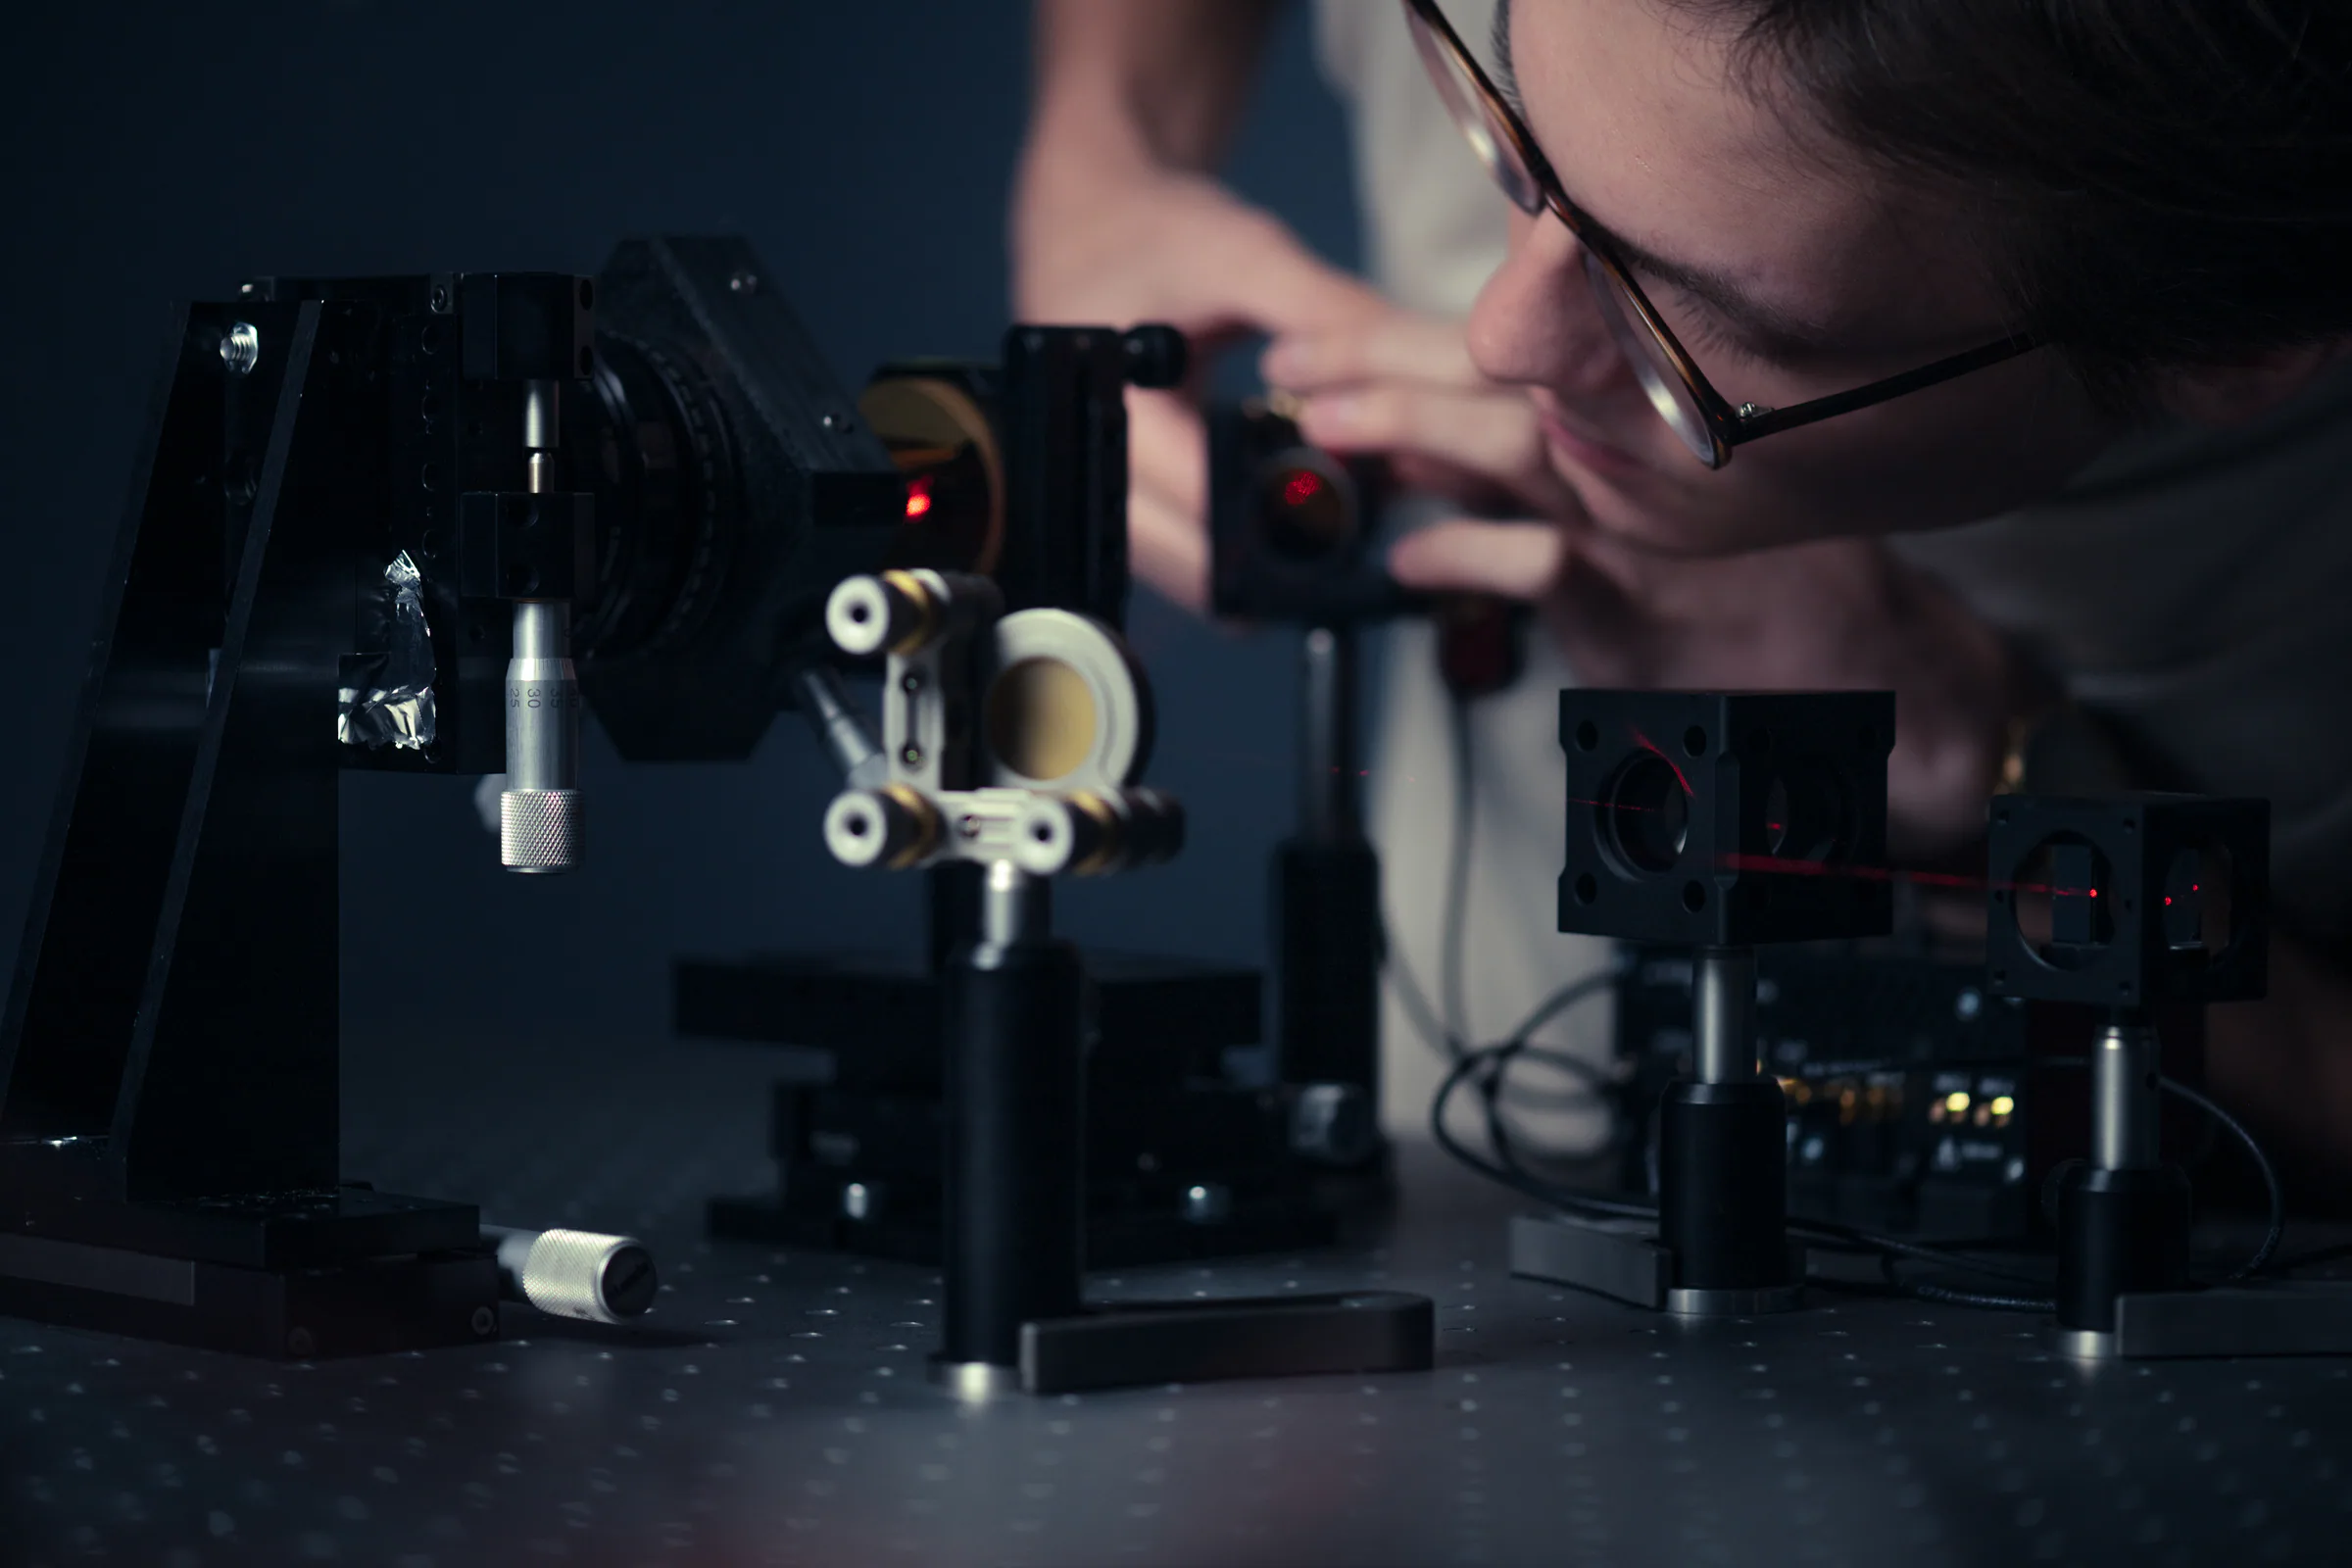
Optical laboratory for assembly, alignment and measurements
We assemble experimental setups, align components and measure agreed optical system parameters. Laboratory work can form part of optical design, prototyping, testing or inspection of an assembled product.
The company uses two optical laboratories with a total area of 36 m². They house optical tables and breadboards, an optical bench, light sources and measurement instruments.
When a project needs laboratory work
A physical experiment helps verify an engineering hypothesis, align a system and record measurable results.
- You need to verify an optical design or technical hypothesis on a physical setup.
- Several optical path configurations need alignment before the design is finalised.
- You need to measure the parameters of a model, prototype or assembled unit.
- An experiment requires component movement to be synchronised with signal acquisition.
- The setup needs custom optomechanical components, fixtures or a 3D-printed part prototype.
Our team defines the question the experiment must answer, the parameters to measure and the criteria for assessing the result.
Optical assembly and alignment
We select the working surface, components, source and measurement setup for the specific experiment.
The laboratories have three optical tables. Up to five optical breadboards can be mounted on support rails with vibration isolation. An optical bench is available for linear layouts and can be configured for the measurement task.
Available components include lenses in various sizes, from microlenses to elements larger than two inches, mirrors, filters, dichroic elements, objectives, collimators and optical fibres. Optical elements are secured using optomechanics from Thorlabs, Standa, JOPTICS and other manufacturers.
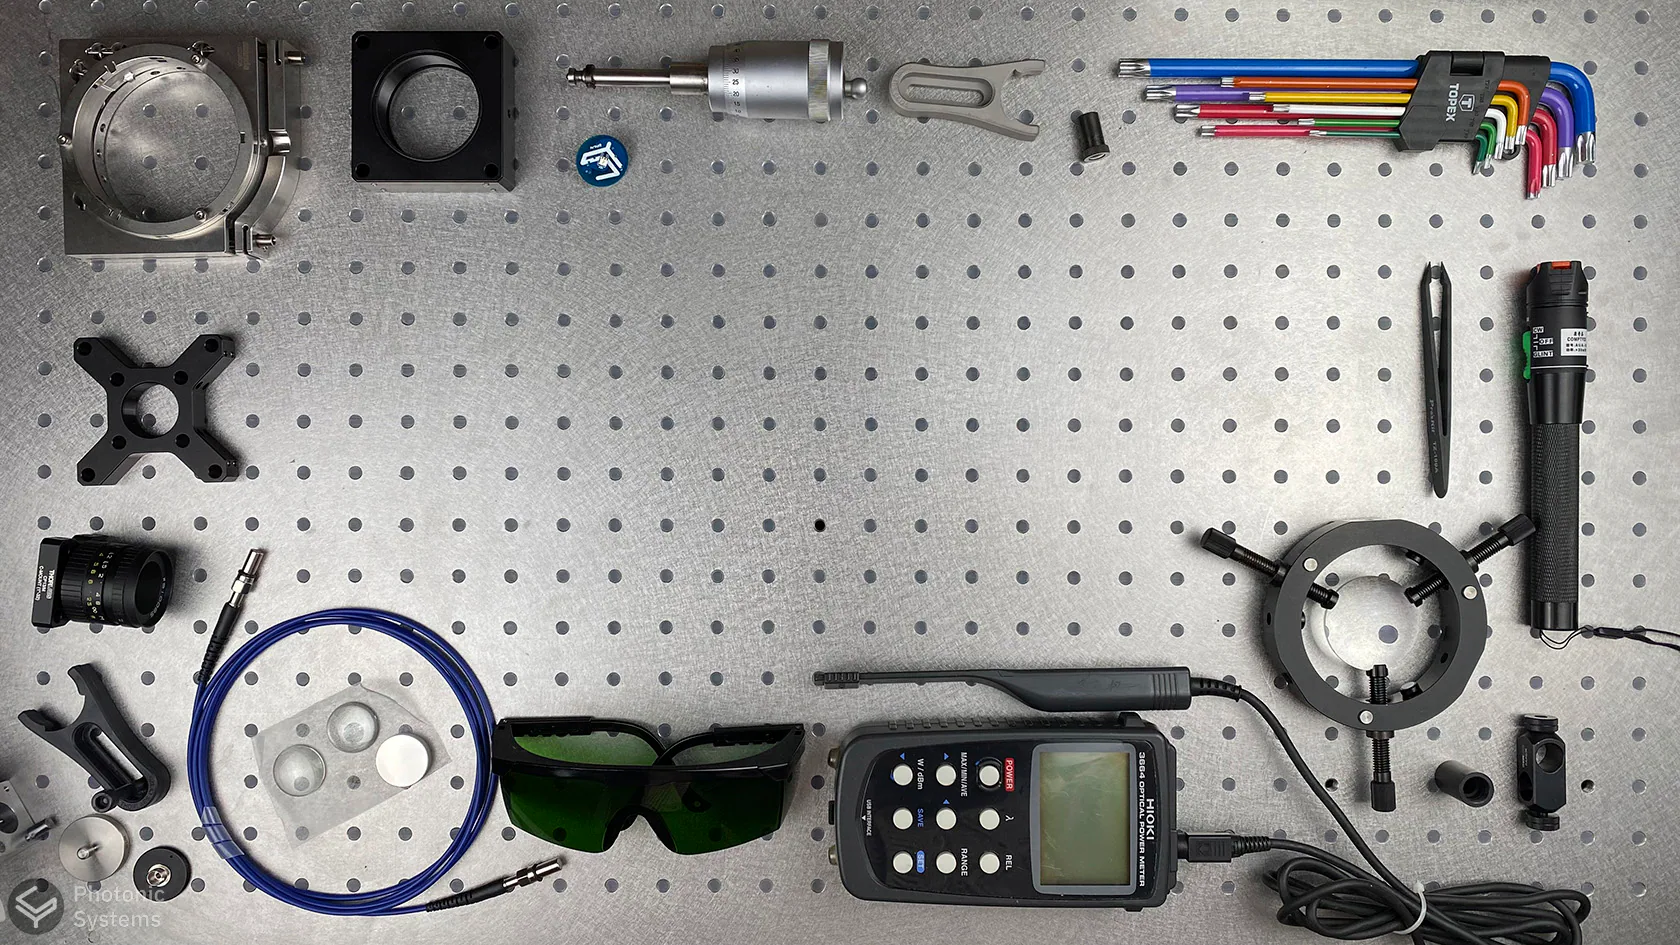
Tools, optomechanics and components for assembling and aligning experimental setups.
Sources, detectors and measurement instruments
The laboratory has lasers and laser diodes covering the ultraviolet to infrared spectral range, as well as white-light sources and a mercury lamp. Our team selects the source according to the required wavelength, output power and experiment geometry.
For signal acquisition, we use photomultiplier tubes, Thorlabs PDA photodetectors and cameras of various types, including TDI cameras. Measurement equipment also includes spectrometers, power meters, monochromators and goniometers.
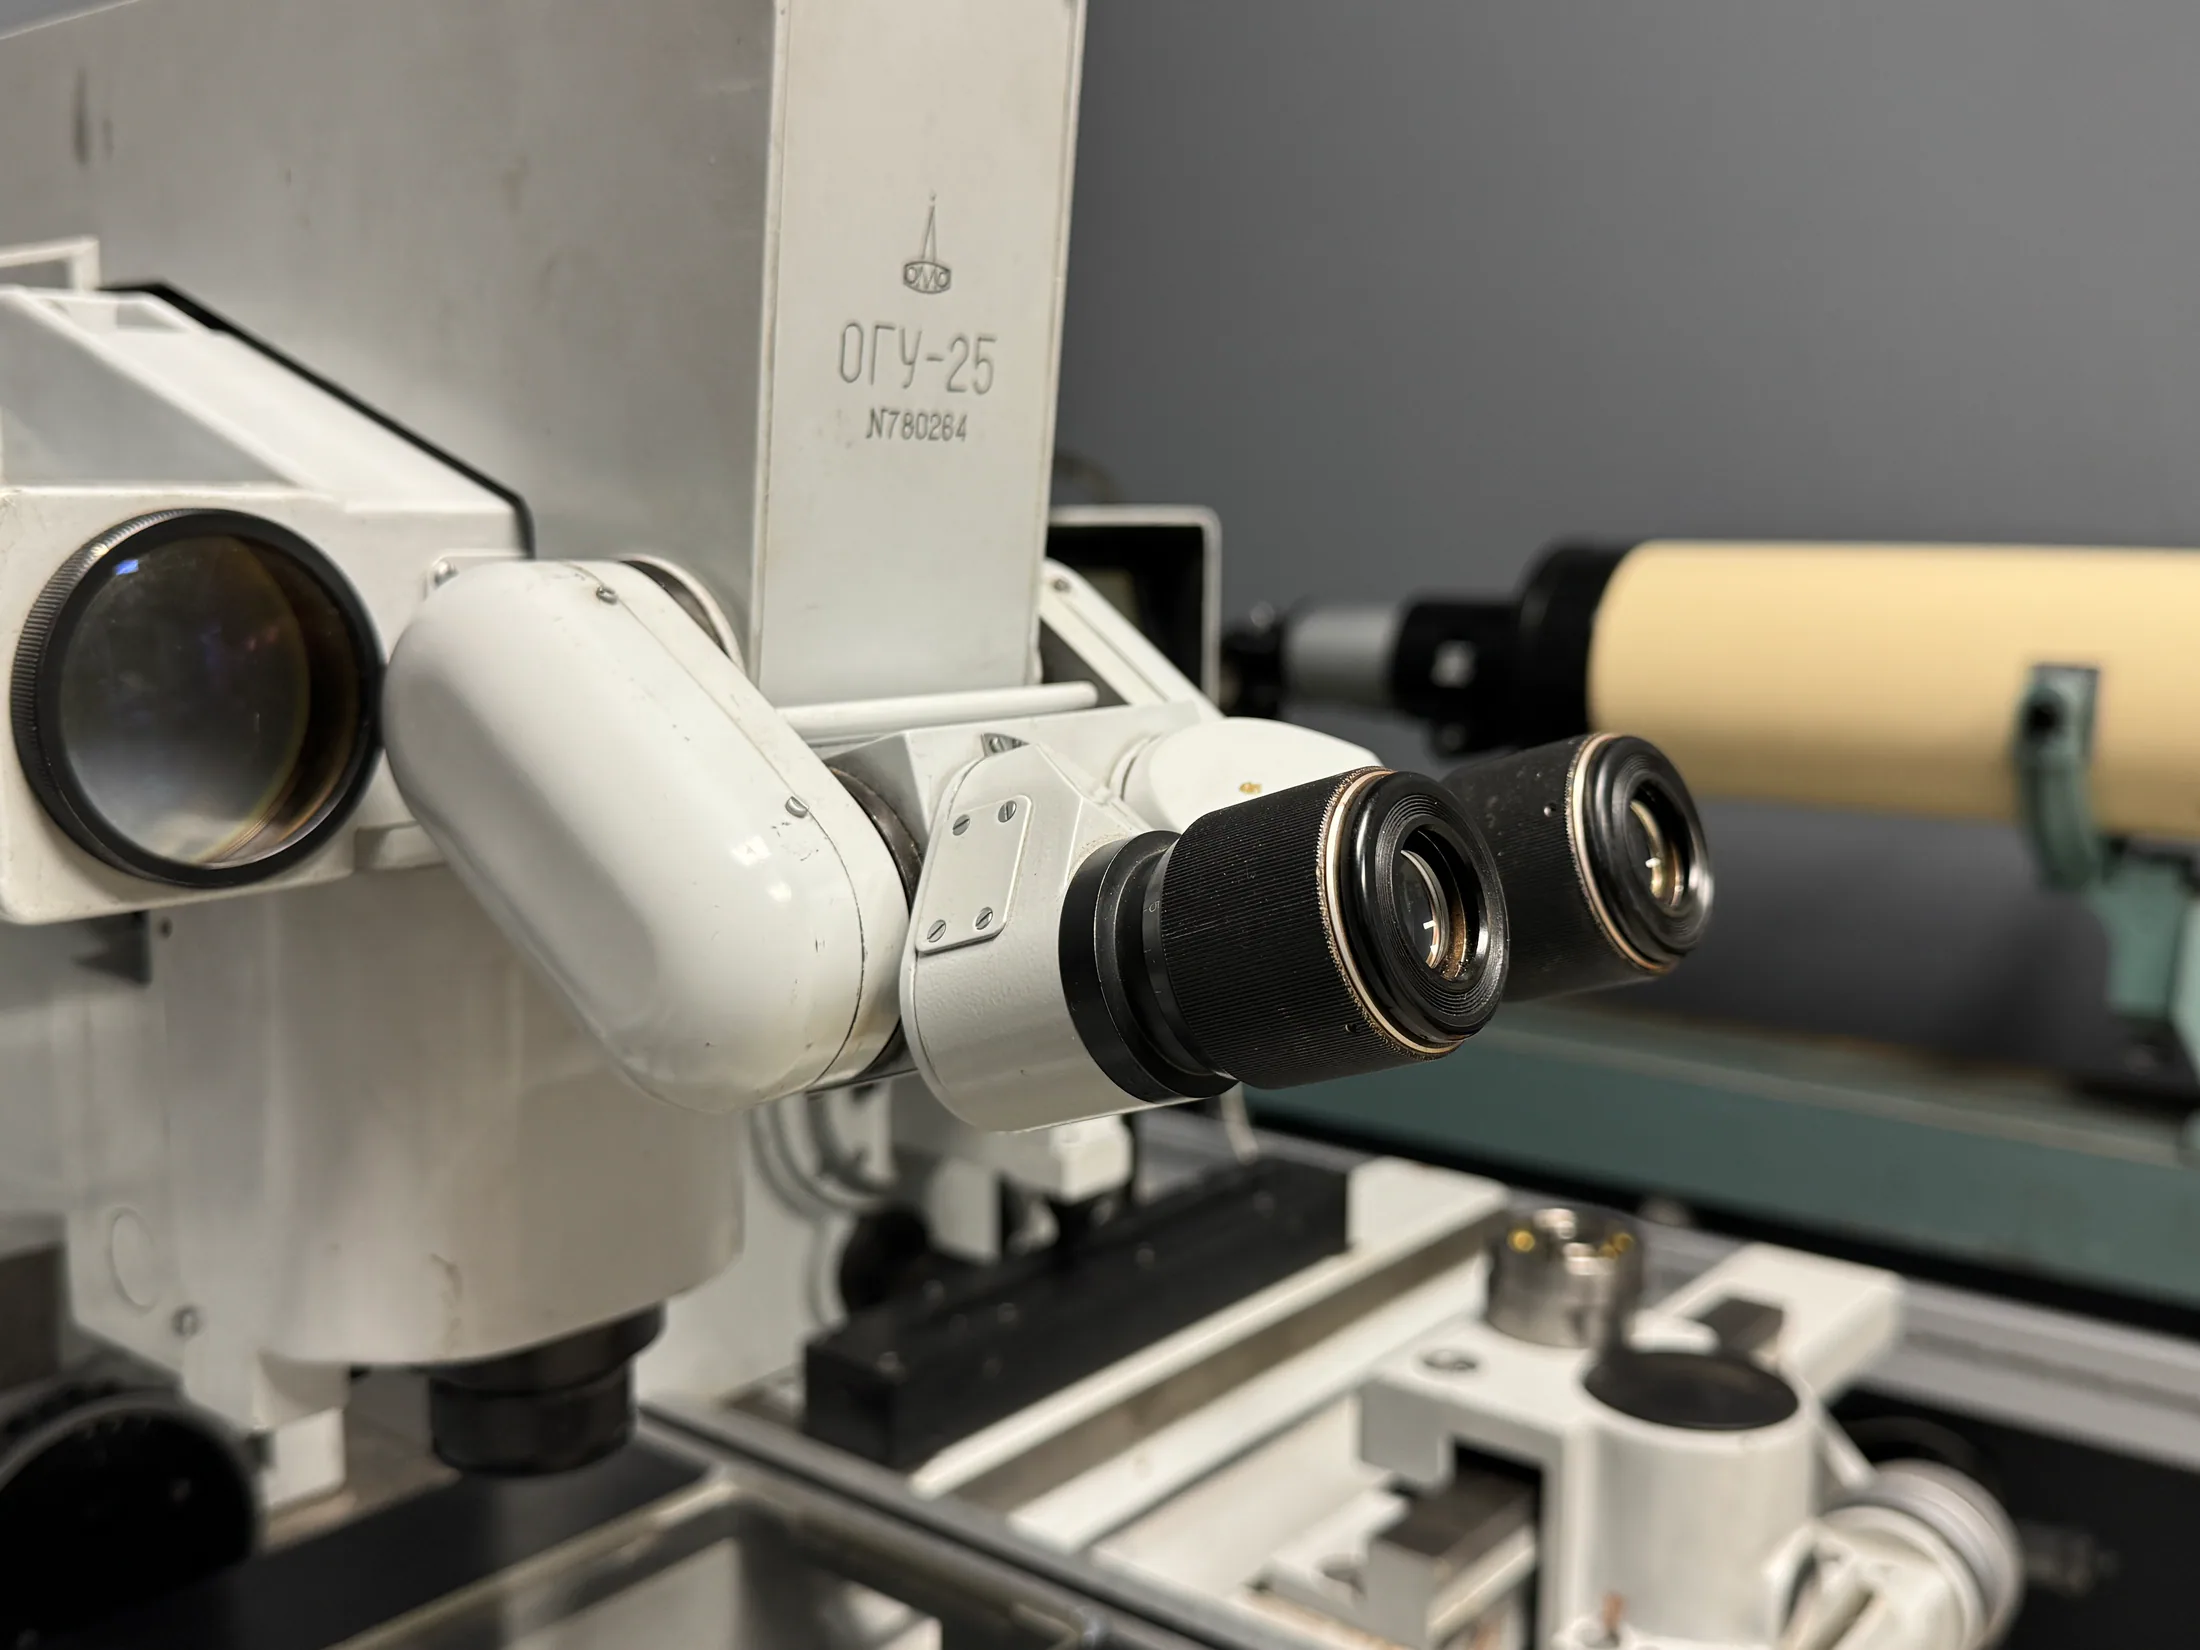
A universal measuring microscope supports the examination of large objects. Protective equipment is available for work with light sources.
Measurement automation
Our specialists develop software to synchronise motorised linear and rotation stages with light sources and detectors, and to interface equipment through ADCs and DACs for measurements at multiple angles and positions.
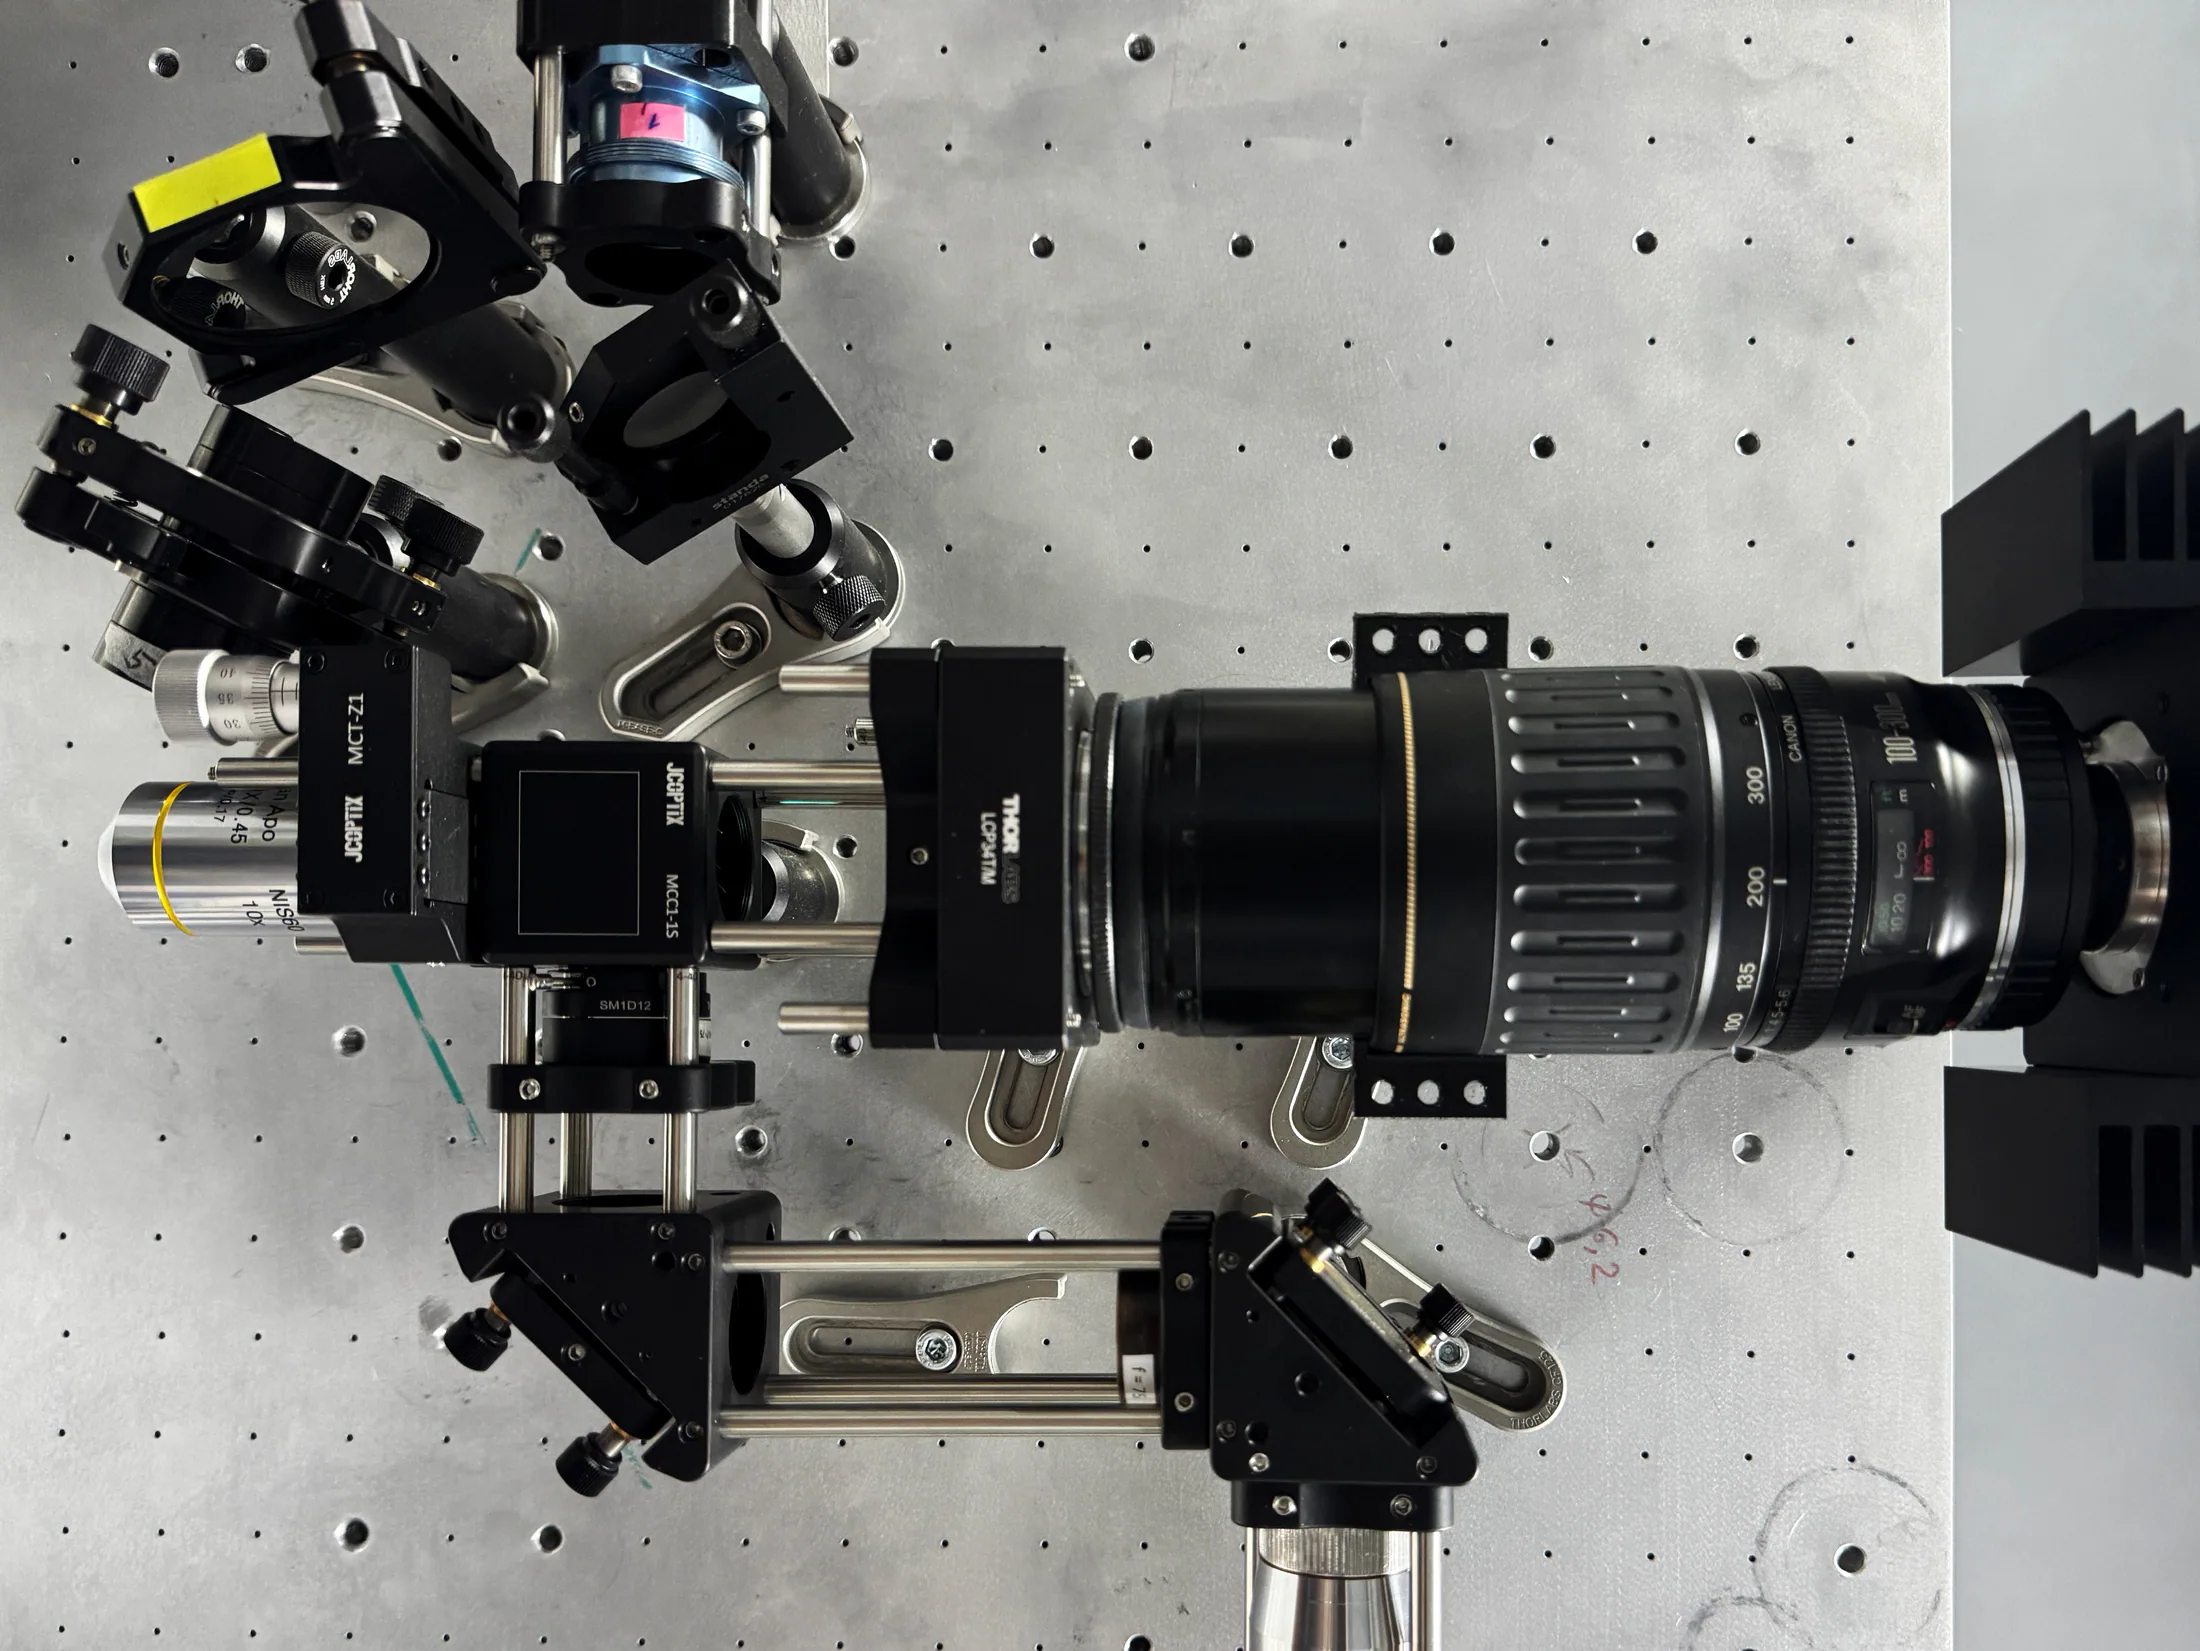
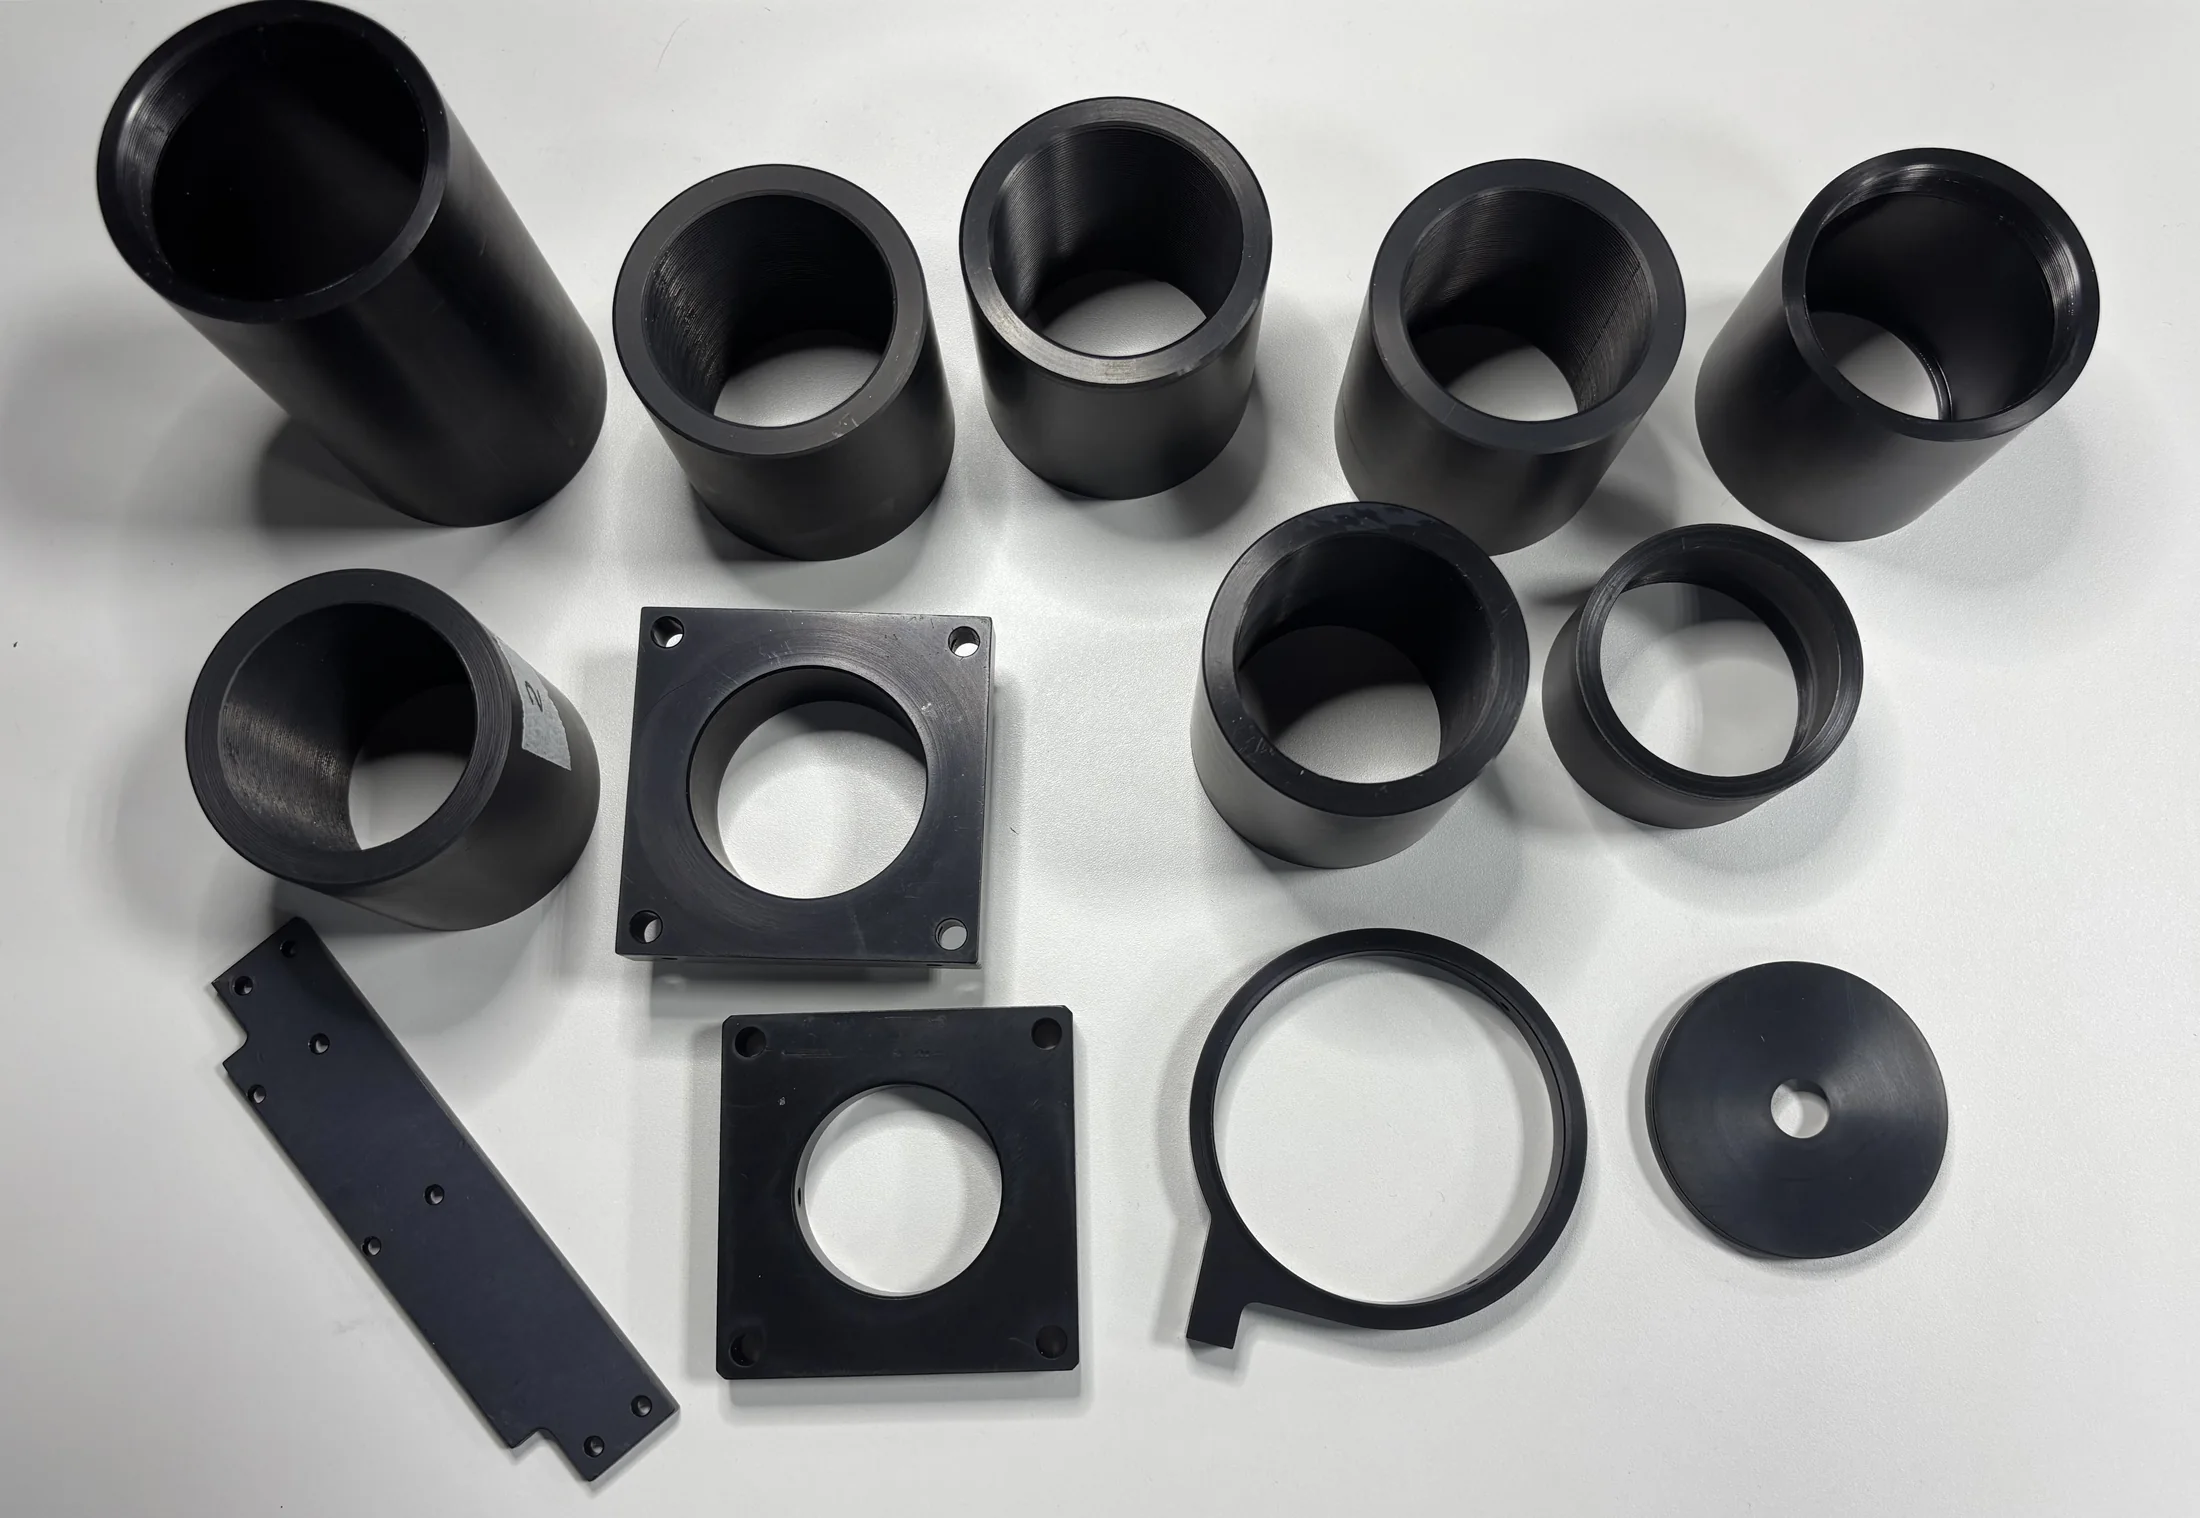
Standard and custom components for mounting and positioning optical elements.
Optomechanics and fixtures for your experiment
For experiments requiring specialised mounts and custom optomechanical components, the company has in-house lathes and CNC machines, allowing holders, adapters, mounting plates and other parts to be made promptly. To check part geometry, 3D printing is available with model preparation and part post-processing.
Using the laboratory in a project
The setup and measurement programme are defined by the question the experiment must answer.
- 01
Define the task
We clarify what needs to be assembled, aligned or measured and which criteria define the result.
- 02
Design the experiment
We select the working surface, source, detector, optical components and fixtures. We model the setup and prepare diagrams and drawings.
- 03
Assemble the setup
We position and align the components and configure stage control where needed.
- 04
Take measurements
We collect data using the agreed programme and compare it with the project criteria.
- 05
Deliver the results
We document measurements in the agreed format and, where needed, adjust subsequent project stages based on the findings.
What you can receive
The deliverables depend on the task. They may include an assembled model or experimental test setup, measurement data, findings on the investigated parameters and a list of changes for the next iteration.
Next stage
Where needed, we verify the calculated model on an experimental prototype in the laboratory. Measurement results can support the move to contract manufacturing and regular product assembly.
Before we start
Answers to common questions before an initial project assessment.
01What should I send for a laboratory assessment?
Send a technical brief, optical layout, drawings, a 3D model, a component specification or an experiment description. Include the wavelength range, parameters to measure and result criteria where possible.
02Can you verify a calculated optical design?
Yes. Our team will define the physical model, select components and choose a measurement method. We agree which parameters the laboratory setup must verify before work starts.
03Which spectral ranges does the laboratory cover?
Our light sources support tasks from the ultraviolet to the infrared. The availability of a specific wavelength, power level and detector must be checked for each project.
04Can measurements be automated?
Yes. A setup can use motorised linear and rotation stages, ADCs and DACs, detectors and software control. The automation scope depends on the measurement sequence.
05Can you manufacture custom fixtures?
Yes. The company can manufacture optomechanical components and fixtures using lathes and CNC machines. 3D printing can be used to check the geometry beforehand.
06What measurement accuracy is available?
Accuracy depends on the method, range, instrument, test setup and result requirements. Our team can assess achievable parameters after reviewing the task.
Discuss laboratory work
Send a technical brief or experiment description. Our team will review the inputs and propose the setup, measurements and next stage.